Shentel Expands High-Speed, Reliable Broadband Service in Campbell County, VA
4 Steps to Set Up WiFi in Your Home
Setting up WiFi in your home can feel overwhelming, especially if you're not a tech enthusiast. But it’s more straightforward than you might think, especially since you can count on experts who know how to set up WiFi from start to finish.
Whether you're moving into a new place, upgrading your existing setup, or trying a self-install Internet option, this guide walks you through how to set up Internet step by step. We’ll cover everything from choosing the right Internet service provider (ISP) to installing and configuring your modem/router with a technician. Let’s dive in!
How to Set Up WiFi
No two WiFi networks (or routers) are exactly alike. Even so, any kind of WiFi setup generally involves four key steps. Each one plays an important role in ensuring your Internet installation is successful, your speeds are optimized, and your devices reliably stay connected. Let’s break it down.
Step One – Find the Right ISP
Choosing the right Internet service provider is the foundation of a stable and efficient home WiFi setup. After all, your WiFi network is only as good as the provider you partner with. Not all ISPs offer the same speed, coverage, or reliability – so do your homework before signing a contract.
What to Look for in an ISP
Start by identifying which ISPs service your area. Use a broadband availability map or simply search online with your ZIP code. Once you have a list, compare them based on:
- Speed and bandwidth. Your ISP should have a plan that matches your household’s Internet usage. For example, streaming 4K content or online gaming demands higher speeds than browsing and emailing.
- Data caps. Some ISPs limit your monthly data usage. Look for unlimited plans if you’re a heavy user, but keep in mind that data caps are never great signs of a provider's value, no matter how often you're online.
- Customer service. A responsive support team is invaluable when issues arise, so make sure your future ISP has one!
- Pricing and contract terms: Watch for hidden fees, equipment rentals, and early termination clauses.
- Self-install options: If you're wondering, "How do I set up wireless Internet myself?”, ask your ISPs if they offer self-install Internet kits or if they allow you to use a router you own for your new WiFi network.
At Shentel, we make the WiFi setup process easier by offering fast speeds, flexible plans, and customer-friendly support designed for households of all sizes.
Step Two – Install Home WiFi Equipment
Once you've chosen your ISP, the next step in learning how to set up WiFi involves the hardware: your modem and router.
Choosing Your WiFi Equipment
There are many router and modem choices for your home WiFi network. However, it’s generally a better idea to rent equipment from your Internet service provider instead of buying new equipment at premium prices. You may be able to save some money over the long term by purchasing your own equipment, but there are risks.
There are a few big reasons why renting WiFi equipment is smart:
- Any equipment you rent from your ISP is definitely supported by customer service
- That means you’re not responsible for replacing the equipment if it breaks or fails
- Plus, you get access to tech support for the equipment if something goes wrong
- On top of that, obsolete rental equipment can be swapped out for modern devices
The bottom line? Renting equipment is much easier to deal with, offering peace of mind and convenience.
How to Set Up a WiFi Modem/Router
Since setting up a new WiFi modem or router can be fairly technical and complex, your ISP will send a skilled technician to your home to take care of the nuts and bolts. Here’s a breakdown of what they’ll do, step-by-step:
- Connect the modem. Your WiFi technician will use a coaxial cable to connect your modem to the wall jack. Then, they’ll plug the modem into a power outlet.
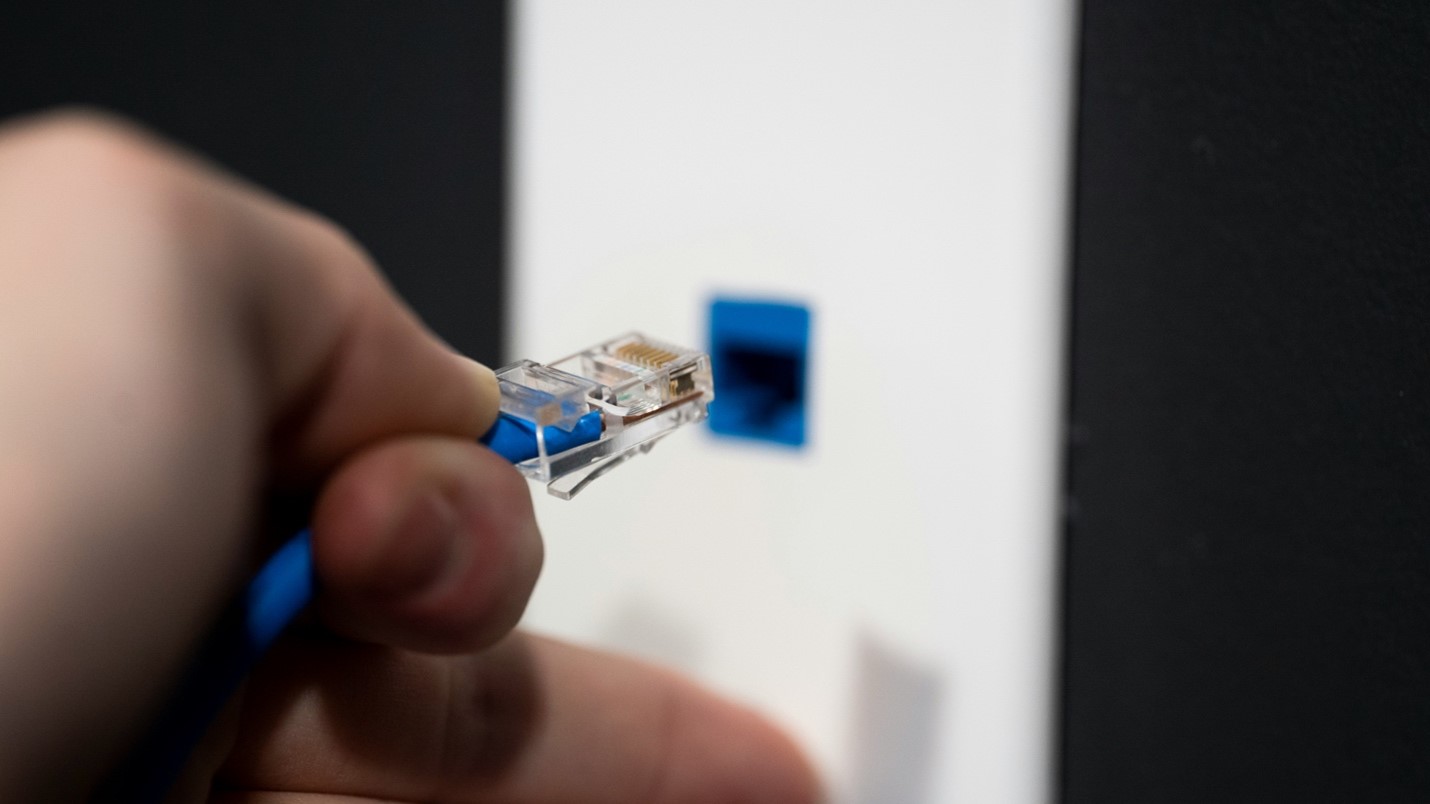
- Connect the router (if separate). Next, they’ll link your modem to your wireless router using an Ethernet cable and plug the router into a power source.
- Power up and wait. At this point, your technician will allow both devices to boot up. This usually takes a few minutes. You’ll see indicator lights showing that both the modem and router are online.
- Activate the service. Some ISPs require your technician to activate the equipment using their website or mobile app. You may need to enter your account number or scan a QR code on the device, too.
Note that if you ever need to expand your WiFi network – say, by adding a WiFi signal extender for better range – you can usually follow similar steps as the above. In many cases it is as simple as adding a new WiFi router to the system through the app that controls your network.
But if your WiFi network ever goes down completely, it’s a good idea to call your ISP for another tech appointment. That way, a technician can examine your network’s hardware and solve any root issues.
Following these steps will get your hardware online, but you’re not quite finished. The next step in how to set up your wireless Internet at home involves configuring your network so it's secure and personalized. You won’t be left on your own - your friendly technician will still be around to wrap up the process.
Step Three – Set Up Your Network and Connect
This is the phase where you’ll make your WiFi network accessible to your devices. You’ll need to access your network settings to set a custom network name, called a service set identifier (SSID), and secure password, plus optionally tweak other settings like guest networks or parental controls.
Accessing Your Network Settings
You can configure your network settings in one of two primary ways: through a web browser or a mobile app. Your technician will show you how to do both, but here’s a quick overview just in case:
Option 1 – Using a Web Browser
- Make sure your device is connected to the WiFi network (or use a direct Ethernet connection).
- Open a browser and type in your router’s IP address – usually, this is either 192.168.0.1 or 192.168.1.1. Your router’s IP address should be listed in the manual or on a sticker on the device.
- Log in using the default admin username and password, usually also printed on the router.
- Navigate to “Wireless Settings” or “WiFi Settings.”
- Rename your network (SSID) to something unique.
- Set a strong, secure password – avoid using birthdays or common phrases.
- Save the changes and reboot the router if needed.
Option 2 – Using a Mobile App
- Download the app you’ll use to control your WiFi network. At Shentel, we use CommandIQ, which enables easy access to your WiFi’s settings.
- Follow the in-app prompts to set up or log into your router.
- The app will guide you through renaming your network, setting a password, and adjusting features like parental controls or device prioritization.
- Changes are typically saved instantly and applied without a full reboot.
Again, your ISP’s WiFi technician will explain both of these processes and connect your WiFi devices for the first time. At this point, there’s only one step left, and you’re almost done setting up your home Internet.
Step Four – Test Your Connection
After configuring your network, it’s time to make sure everything is working properly. Your WiFi technician will:
- Check WiFi signal strength in various rooms to ensure coverage.
- Run a speed test using a tool like Speedtest.net or your ISP’s app to verify you’re getting the speed you pay for.
- Connect multiple devices – smartphones, laptops, TVs, and smart home gear – to confirm your WiFi network’s stability.
- Troubleshoot as needed: If your speed is lower than it should be, your WiFi professional may try rebooting your router, repositioning it, or checking for firmware updates.
However, most WiFi network setups run without trouble. Now you know how to set up WiFi router equipment and create a secure home Internet network.
Get Set Up with Fast WiFi from Shentel
We can cut the first step to setting up WiFi – finding the right provider – short for you right now. At Shentel, we offer best-in-class, high-speed Internet plus stellar service you can count on. Our flexible plans are perfect for a wide range of online activities and needs, including working remotely and streaming your favorite shows.
No need to wait! Get in touch with us today to learn more about switching to Shentel high-speed Internet.